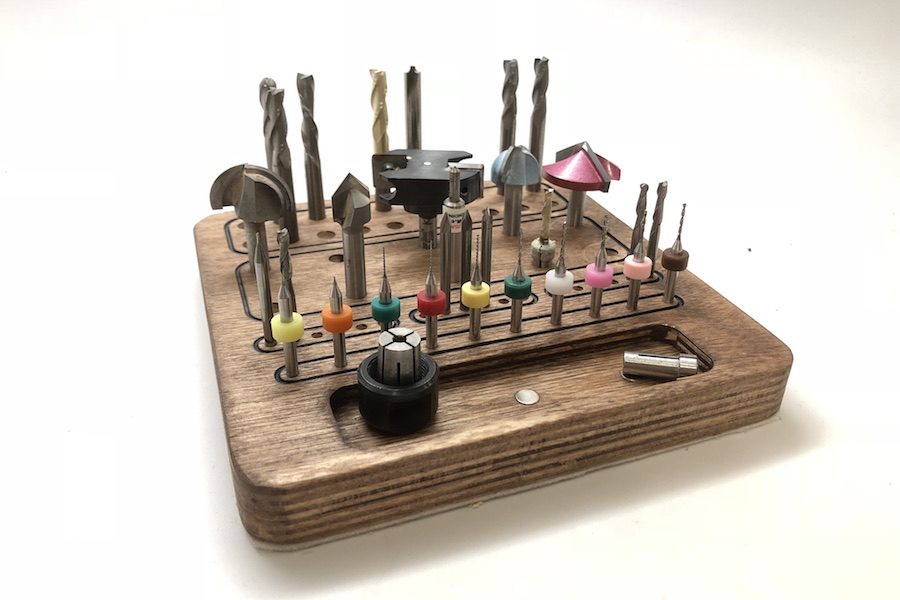
Tool Holder
This simple project gives you a nice clean way to vertically organize your endmills, v-cutters, and drill bits.
Download the Carbide Create file for this tutorial: toolholder.zip
Requirements
- #102 Cutter (1/8″ endmill)
- #201 Cutter (1/4″ endmill)
- #302 Cutter (60° V-Cutter)
- 8″ × 8″ × 3/4″ Material
- Permanent Marker or Paint Pen
- Stain (or paint)
- Sandpaper
Outlines
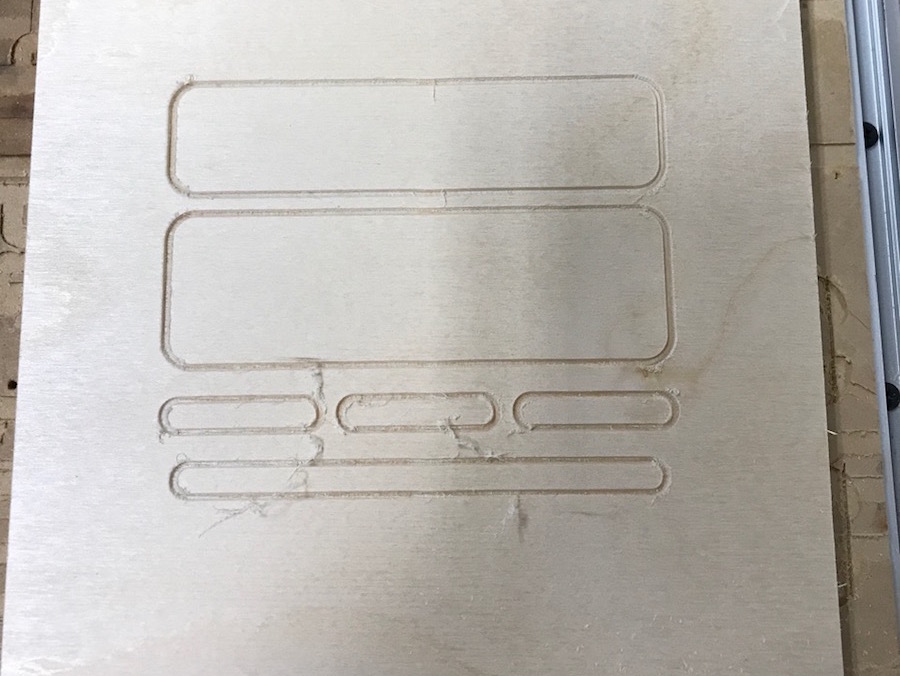
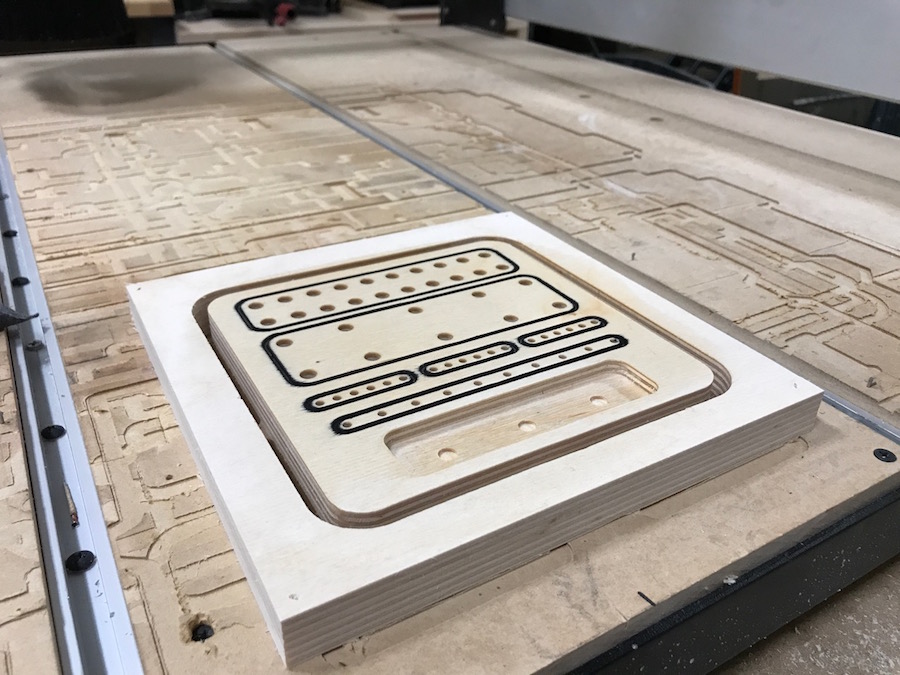
The outlines for the design are done to add design interest accomplished with the #302 V-cutter. These outlines bound different sections of the design for easy organization.
Machining the Holes
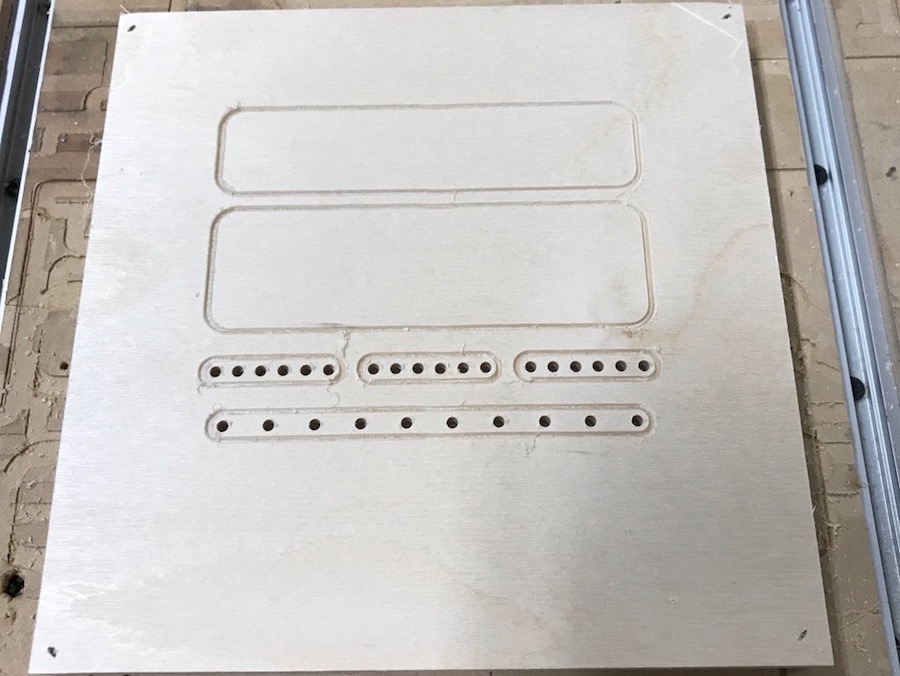
An 1/8″ endmill was used for all of the 1/8″ tool holes. You will notice in the design file that each of the holes are slightly oversized from their matching cutter diameter. This was to provide clearance and allow easy access to each tool holding position.
The 1/4″ endmill (#201) was used for all of the 1/4″ holes and the pocket for the magnetic catch along with the profile. This is your last machining operation.
Finishing
After the tool-holder is cut free from the stock material, you’ll need to trim the tabs off and sand them flush. Then take the time to sand down the edges and faces of the tool-holder to prepare for finishing treatments.
Decorative Trim
An easy way to fill the decorative trim is to use a permanent marker or paint pen. With caution simply trace the trim lines with the marker until they are all filled in with the color of your choice.
Staining
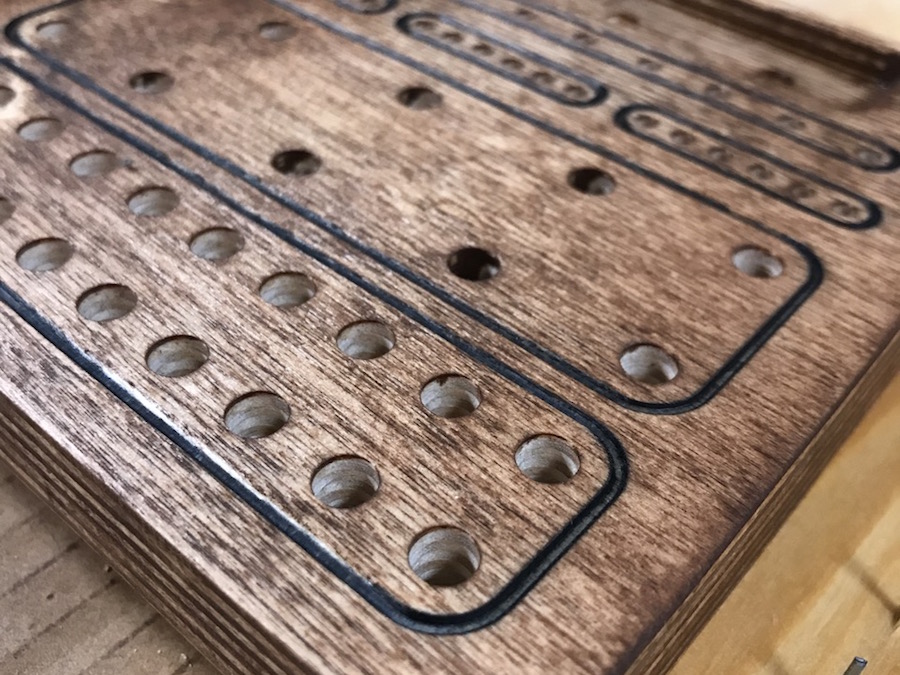
Give the paint pen or permanent market time to dry, then apply the stain (or paint) to your tool holder. Regardless of what you finish with, adding a layer of clear coat will help keep your finish looking nice for a long time.
Complete