It’s been a long tradition in the Shapeoko community to run a ‘hello world’ to test your machine’s basic functionality.
To run this same pattern on your machine, follow the instructions below.
NOTE: This is a zip file that contains the Hello, World G-Code file. After download, unzip the package to a location on your computer that you will remember.
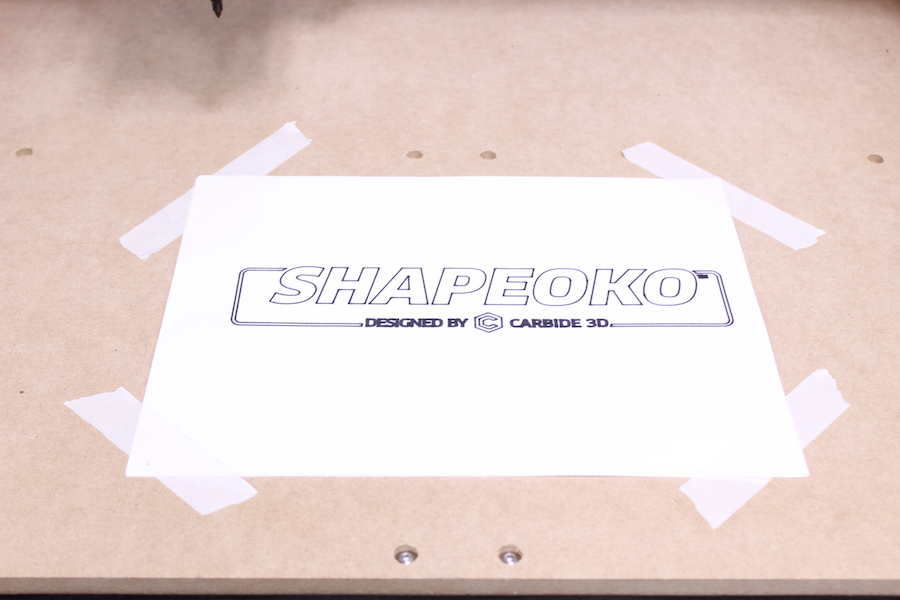
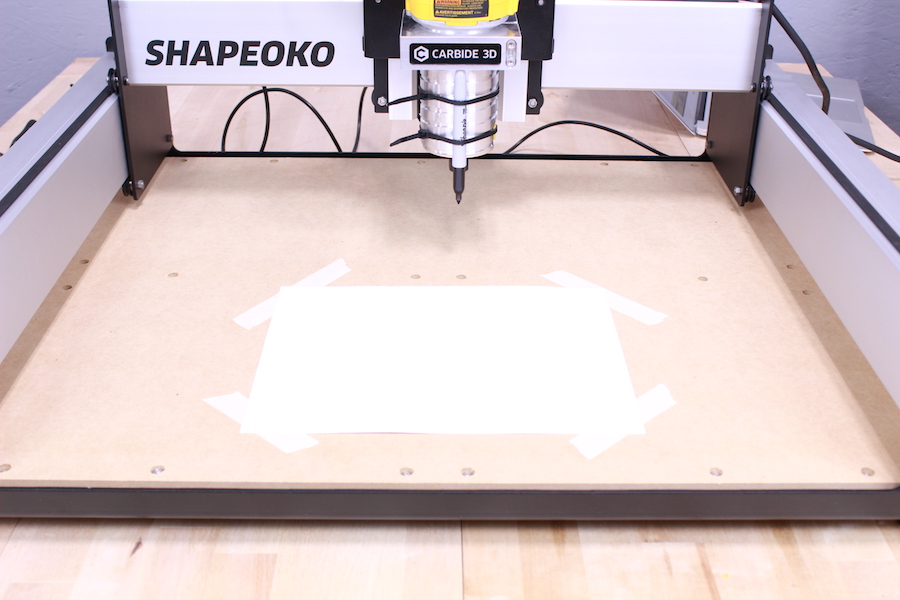
Secure Paper
Tape a piece of paper (letter sized, A4) to your machine in landscape orientation. The paper needs to be secured at all 4 corners, make sure it lays flat and smooth. Masking tape works well.
PROTIP: Place a piece of cardboard below the paper, both to prevent bleed through to your wasteboard, and to provide a little ‘cushion’ to a felt tip pen or marker.
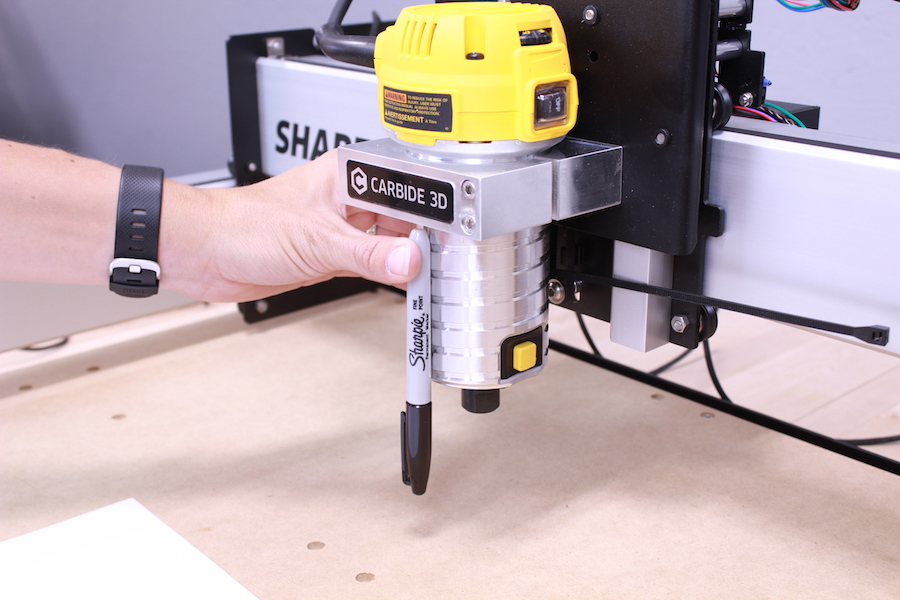
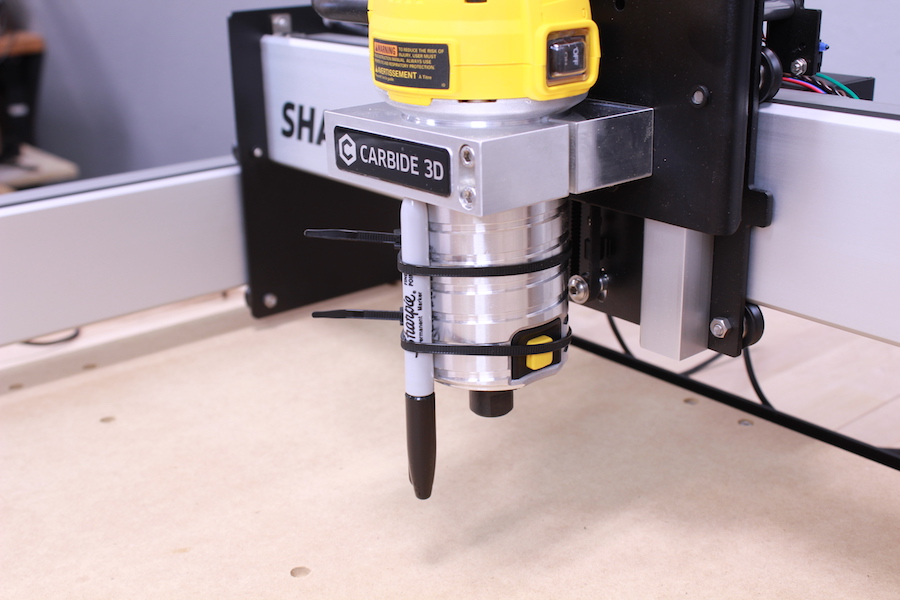
Mount Sharpie
Using zip ties, mount the Sharpie to the slot of your spindle. You can wrap a strong rubber band around the pen or use a small clamp to really secure the marker.
Home Machine
Click the Jog button. You will be prompted to home (initialize) the machine.
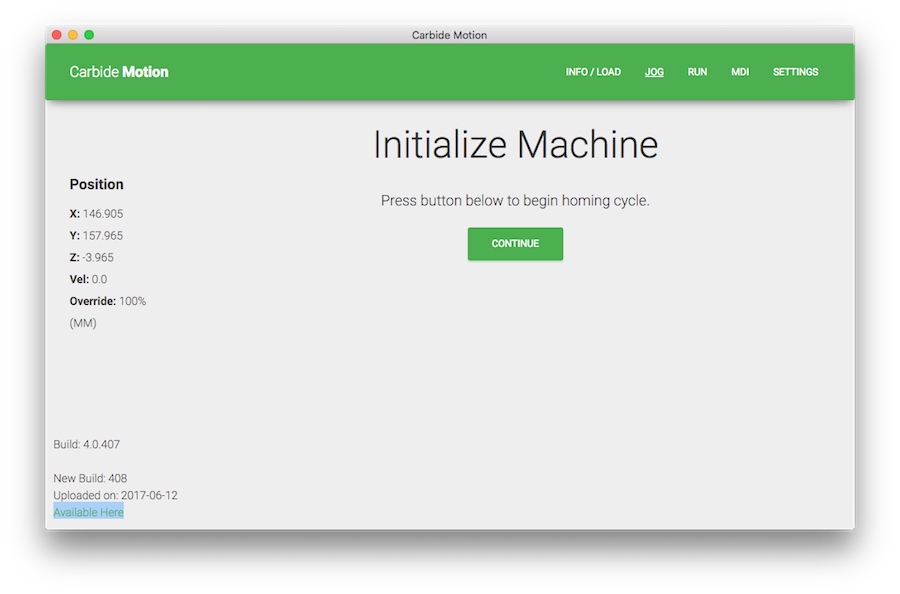
- The Z-Axis will raise until the switch is engaged, then back off, then re-engage and back off again.
- The X and Y-axes will begin moving towards their home positions (right/rear)
- When the X and Y have both engaged, the machine will move off of the switches by 5mm.

After the homing cycle has finished, you will be sent back to the ‘JOG’ screen.
Clear offsets
Clearing all offsets will set the program back into machine coordinate position.
- From the Jog menu, click the Set Zero button.
- In the Set Current Position screen, click the
CLEAR ALL OFFSETSbutton.
Starting Position
After clicking Done from the Set Zero screen, you will be returned to the jogging screen, as shown in the image below.
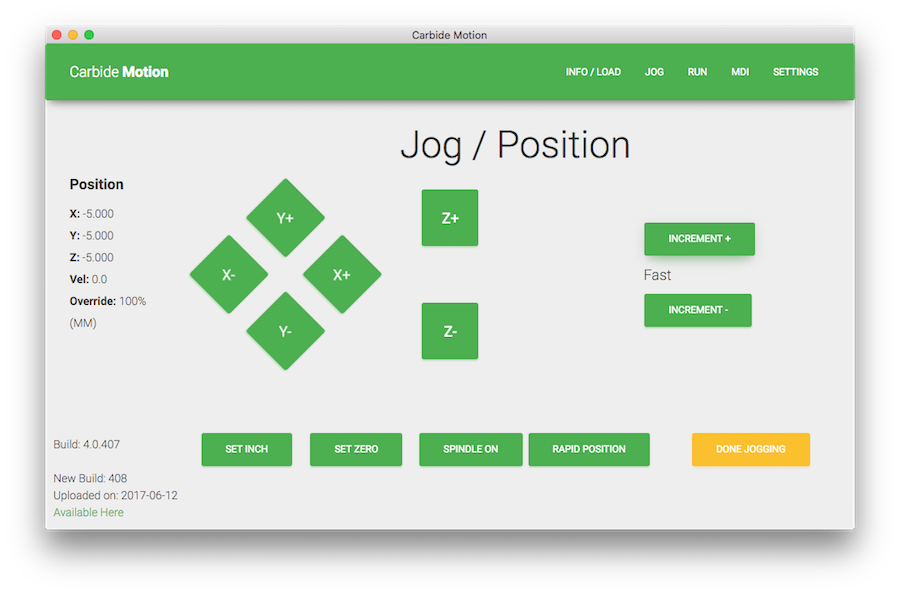
The jog screen allows you to ‘drive’ your machine to where you want the job to start.
For this tutorial, we are starting the job from the lower left hand corner of the paper.
- Change the ‘INCREMENT’ value to
FAST. - Use the
Y-button to move your machine towards the front edge. - use the
X-button to move your machine towards the left edge. - Use the
Z-button to move the sharpie closer to the paper.
When the Sharpie gets close to the corner, change the INCREMENT value to something smaller, like 1mm or 0.1mm.
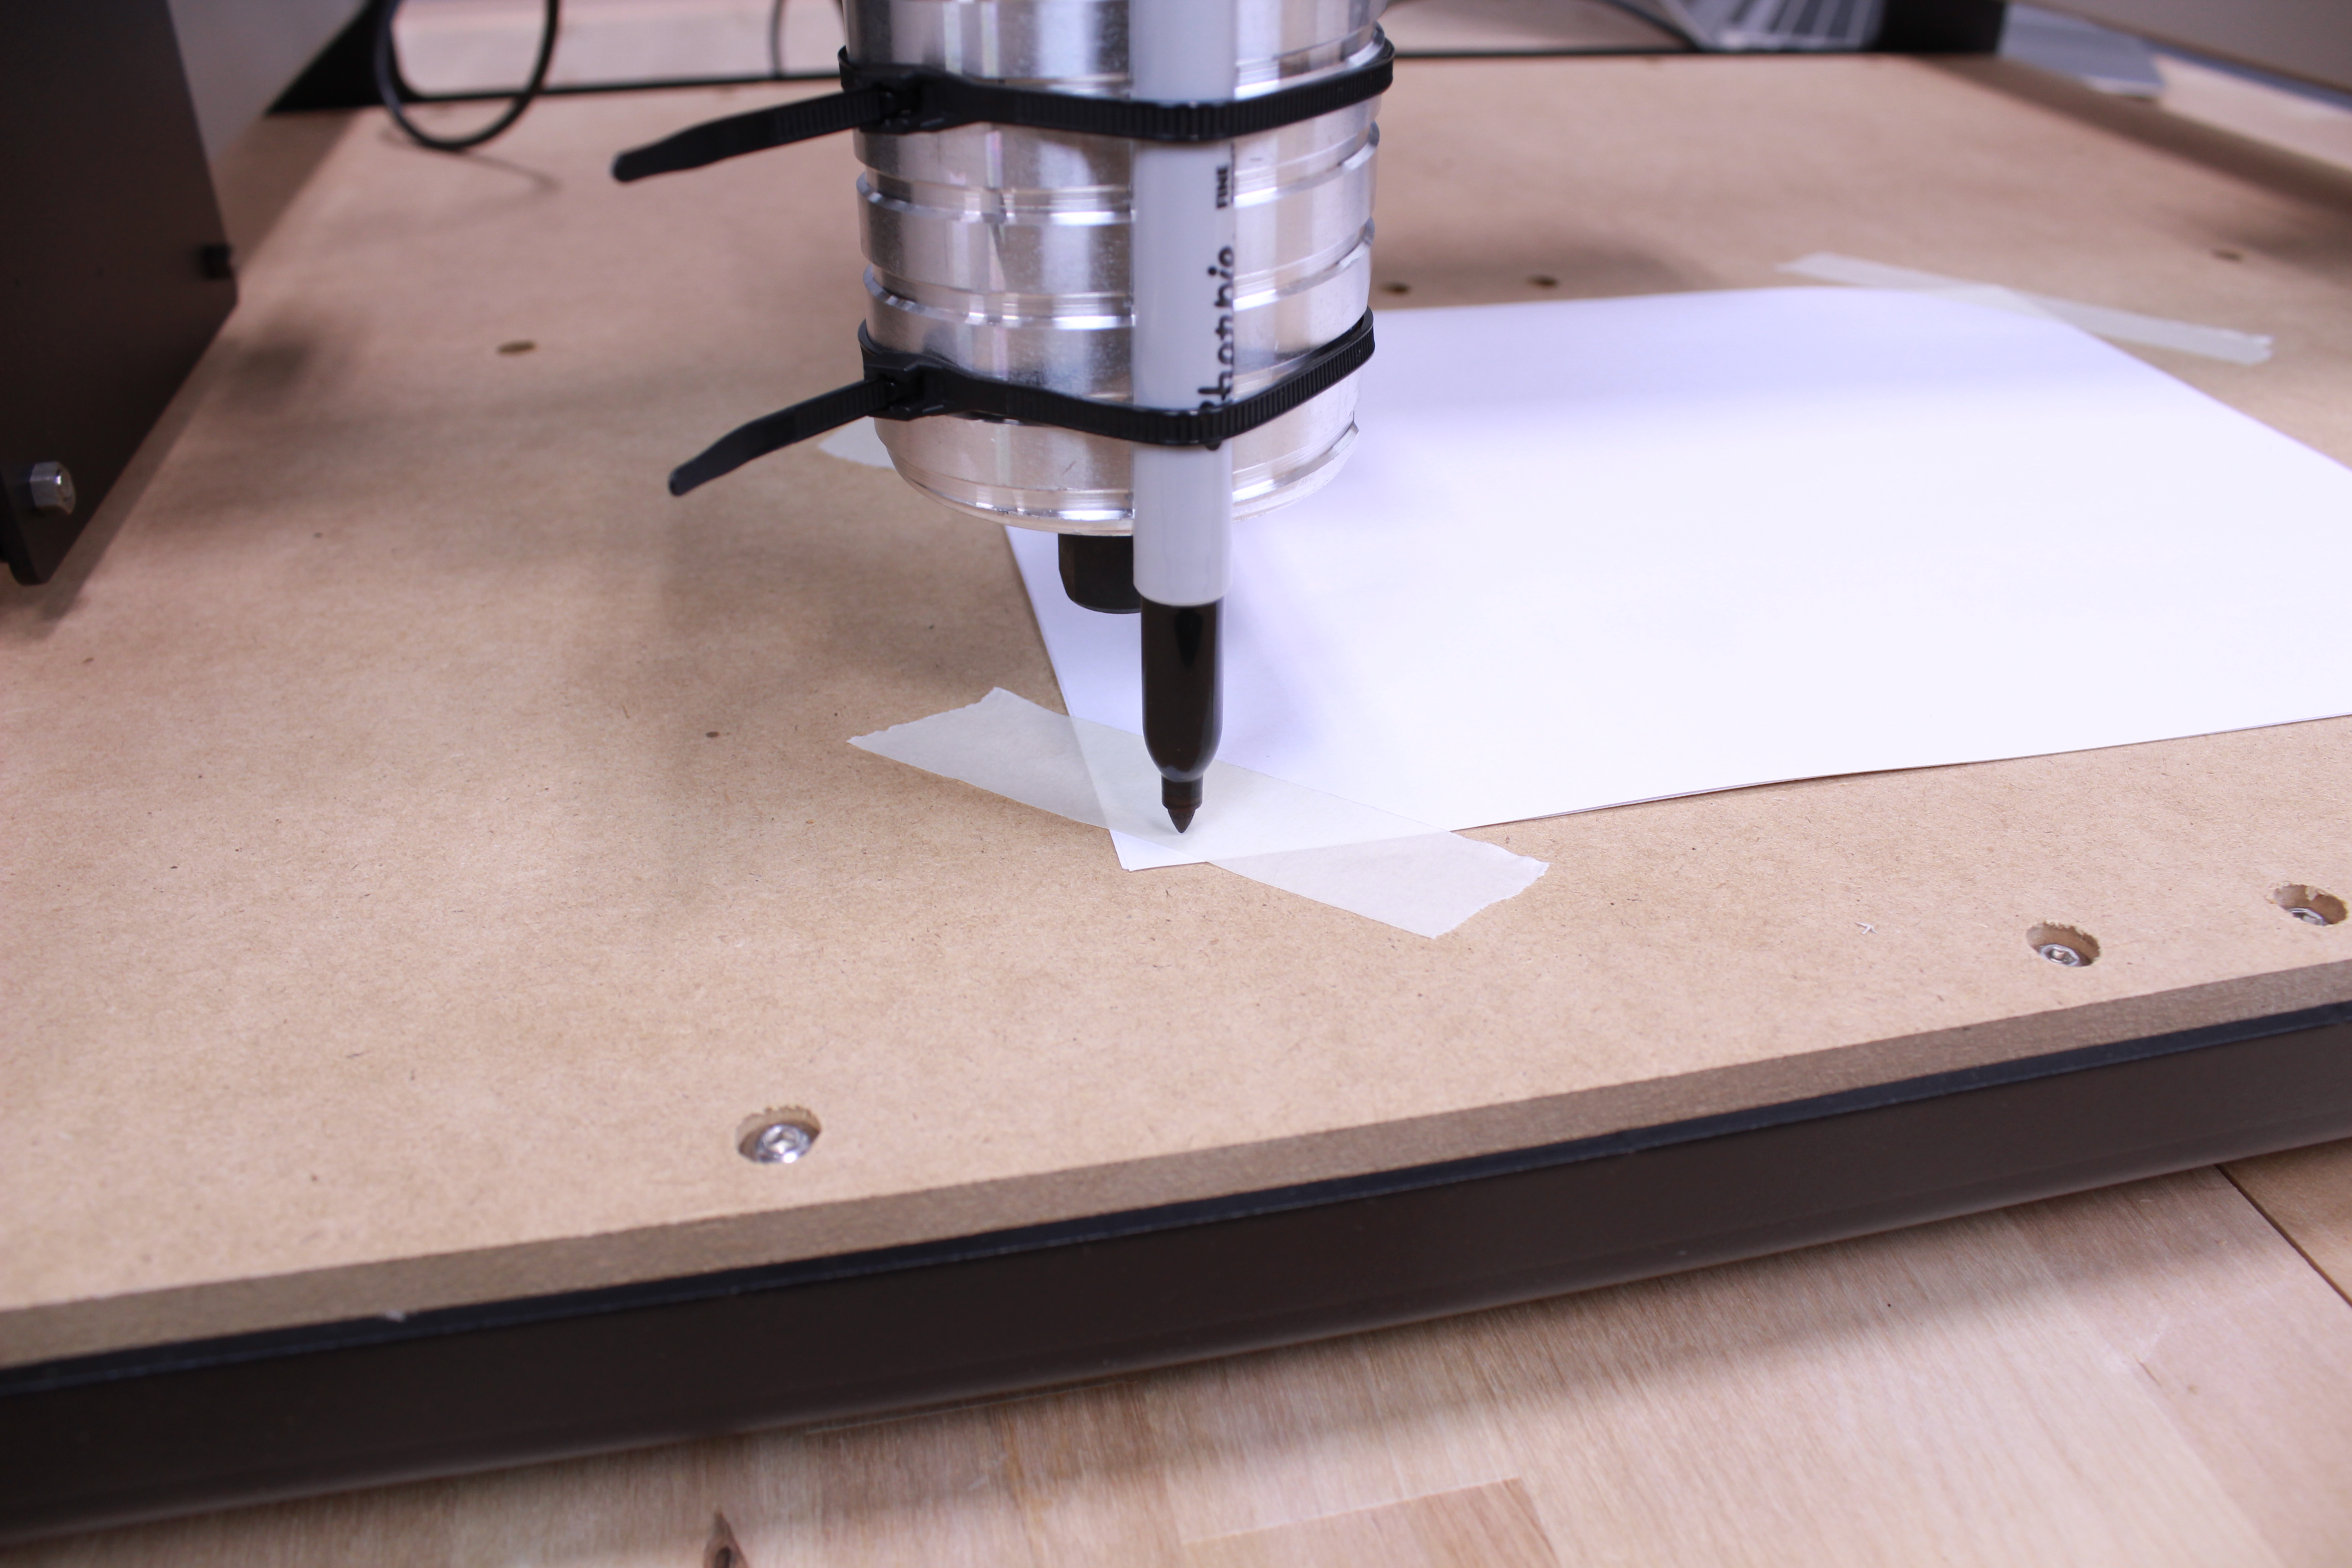
Continue using the directional buttons to position the sharpie in the lower left corner of the paper as shown in the photo above.
Continue to jog the Z-axis down until the sharpie is barely touching the paper.
Zero Machine
WARNING: This step is important! You must re-zero your machine before running the job!
Now that the machine is in the correct starting location (lower left hand corner of the paper), you need to tell the software ‘This is where I want to start the job’. To do that, click the SET ZERO button.
From the ‘SET ZERO’ screen, set all of the coordinates to 0.00 by clicking the ‘ZERO ALL’ button.
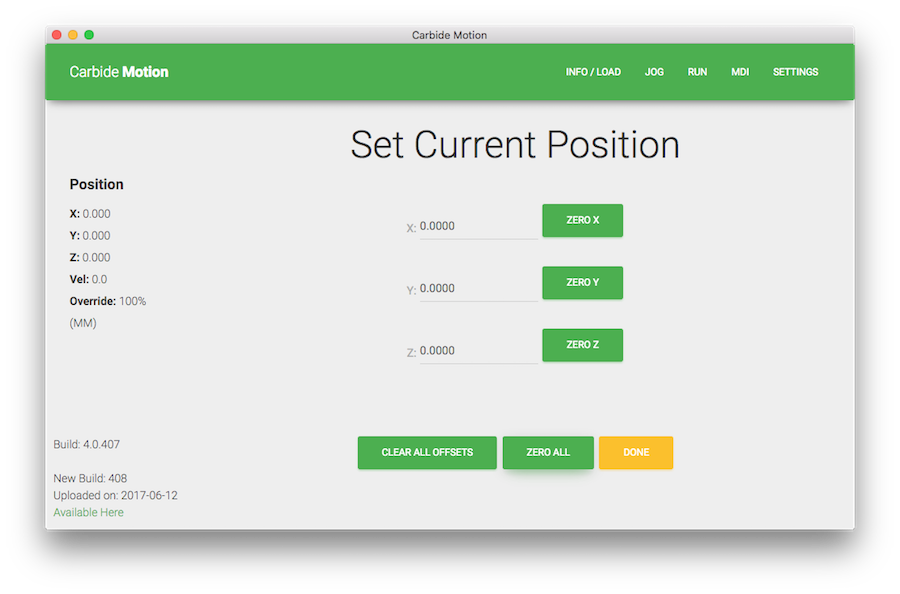
Click DONE to exit the ‘SET ZERO’ screen. Then click DONE to exit the Jogging Screen.
Load File
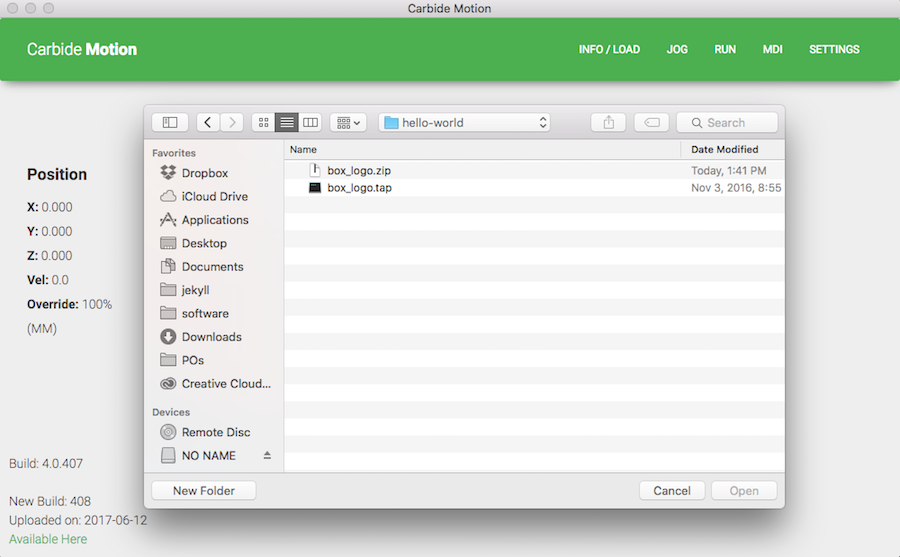
After exiting the ‘JOG’ screen, you will be taken back to the ‘INFO/LOAD’ screen. From here, click the LOAD NEW FILE button, and browse for the file unzipped from the archive you downloaded earlier.
After your file is loaded, you will be sent back to the ‘INFO/LOAD’ screen. Here you will find some information that can be useful in the future:
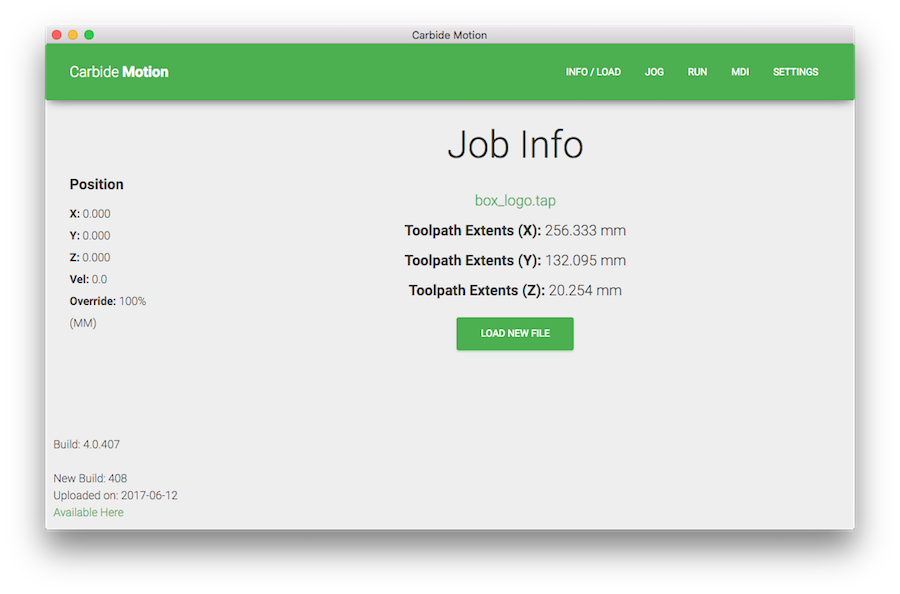
- The tool extents show the total distance of travel in each direction
- If you click on the filename (in this example it is box_log.tap, but the current name should be box_logo.nc after unzipping), highlighted in green. The actual G-Code for the file will be visible.
Run Job
Click the ‘RUN’ button from the top menu.
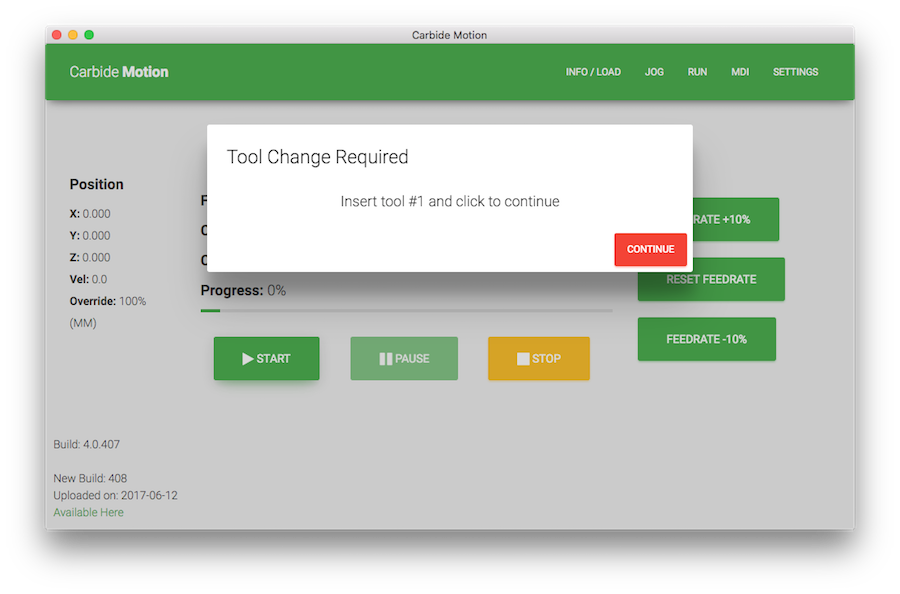
- Click the
STARTbutton - You will be prompted to make sure the correct tool is inserted.
- In this case we are using a sharpie - so make sure the cap is off
- Click Continue
The job will begin running, and take about 1 minute to complete.
After the job has finished, the machine will move back to X=0 and Y=0, then move to the back of the machine and park.
PROTIP: If your letters are not complete, or darker in some spots and lighter in others, make sure your paper is taped flat to the table.
What’s Next?
It is advisable to use this tutorial as practice before moving on to cutting with an actual endmill.